
Photo to line art
Photo to line art means reducing a picture to its outlines with no shading or fill. Stencil AI on iPhone converts a photo into continuous black lines, lets you set the line weight and ink colour, and exports a transparent PNG you can drop into a drawing app, a colouring page, an engraver or a cutting machine.
 Free first stencil · iPhone only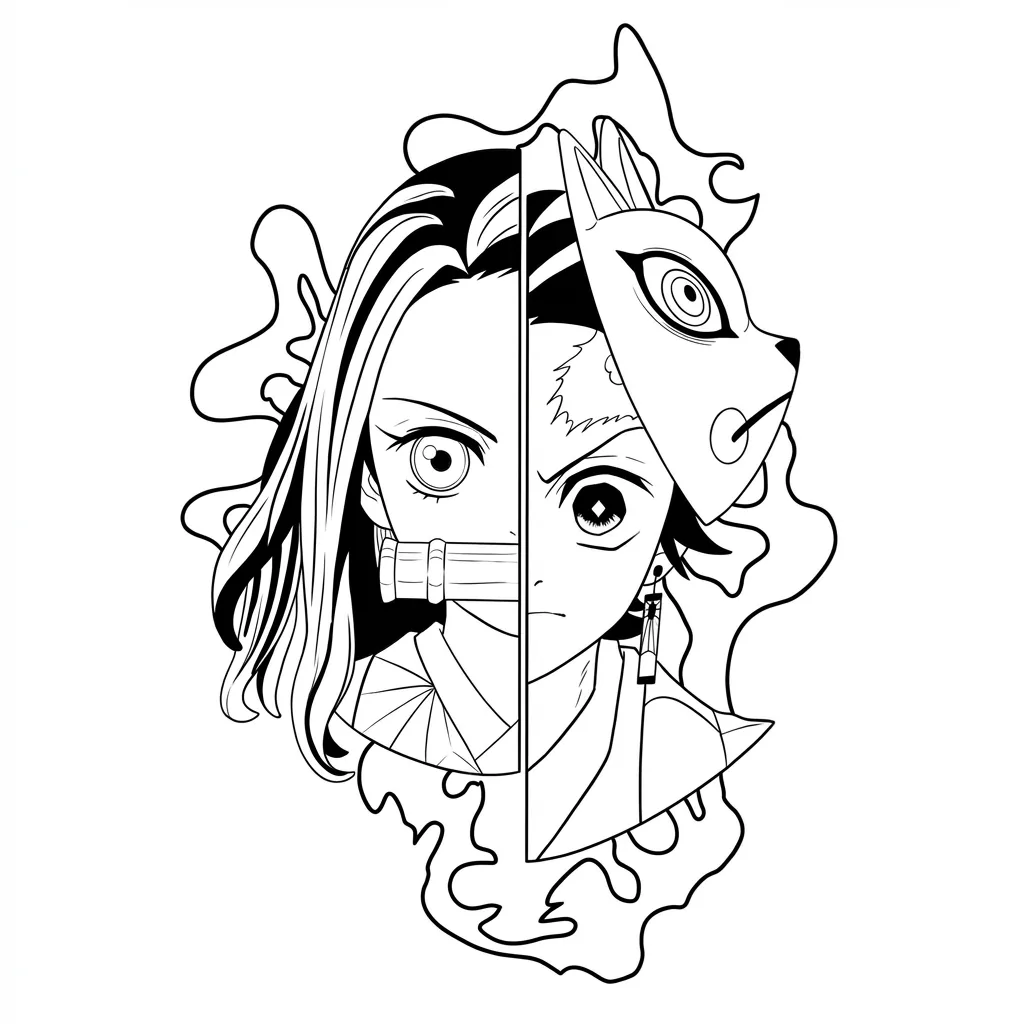
How to make line art from a photo with Stencil AI
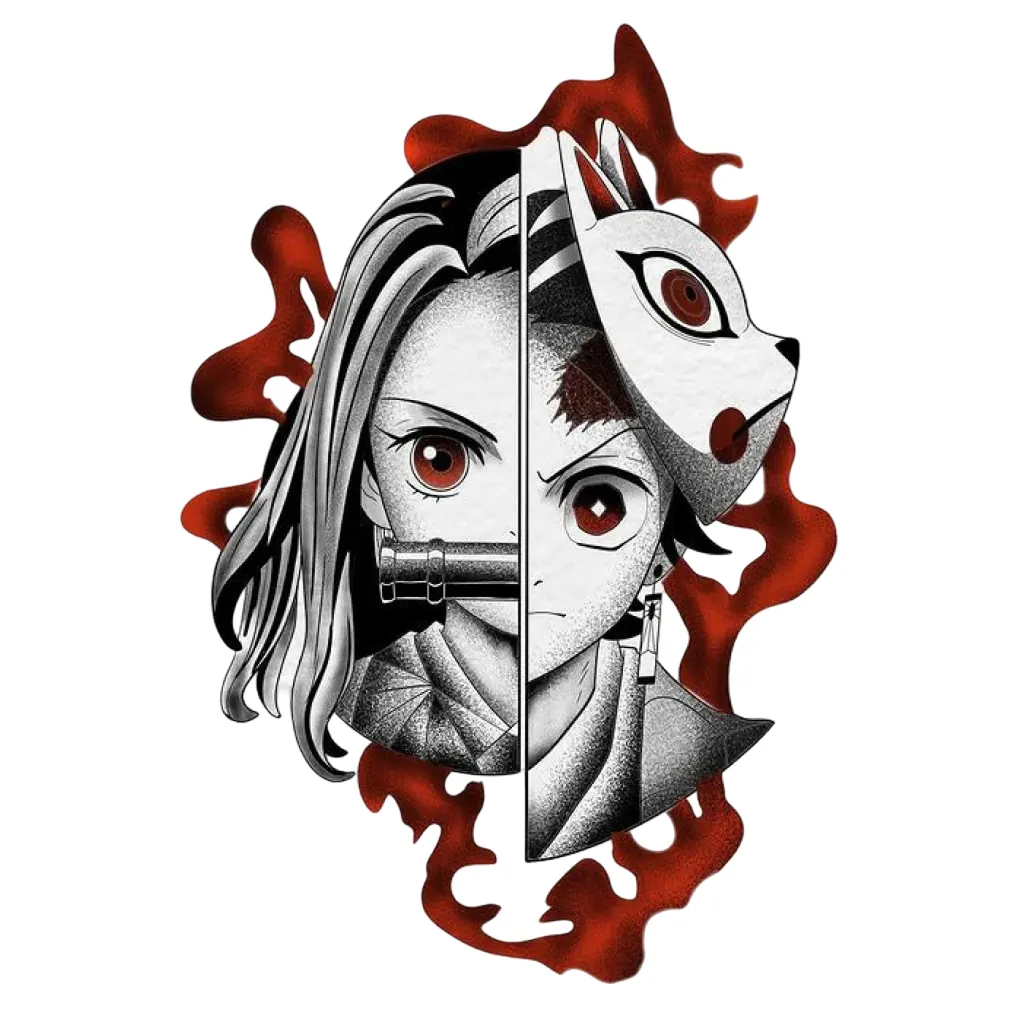
Line art from a photo is the same conversion as a stencil, with different decisions afterwards: the line weight has to suit the output, and the export usually needs a transparent background. The split anime portrait at the top of this page shows the kind of result to expect on a stylised subject; a real photograph converts the same way.
- Choose the photo. Pick one with a clear silhouette and visible edges. For line art, the interior detail matters more than for a stencil, so a sharp original at a decent resolution pays off. Crop away anything you do not want drawn.
- Tap Convert to Stencil. The five-phase progress runs and the before/after slider opens. Slide across the eyes, hair and any fine pattern to confirm the outlines are continuous. This is the moment to decide whether to accept the result or convert again from a better photo.
- Match the line weight to the job. In Adjust, set Line Weight thin for an underdrawing or an engraving, medium for illustration, and heavier for a colouring page or a cutting machine. Push Darkness to full so lines are pure black, and use Smoothing to calm any jitter along long curves.
- Pick the ink colour. In Ink, choose Black for most work, Blue or Violet for a non-photo-blue style underdrawing, White for lines over a dark canvas, or Custom Color to match a brand or palette.
- Set Paper to Transparent. Still in Ink, switch Paper from White to Transparent. The export becomes a PNG with only the lines, ready to layer in a drawing app or import into design software without a white box around it.
- Touch up. In Touch Up, erase stray marks and add any missing lines with the Draw brush. Zoom in with two fingers to work on eyes, fingers and jewellery, where one stroke changes the whole read.
- Export. Save the PNG to your camera roll, or share it straight into the app that needs it. The version stays in your Collection if you want a different ink colour or line weight later.
What the editor does for line art
Adjust is where the line art gets its character. Line Weight is the single most important slider here, because a colouring page, a laser engraving and a digital underdrawing all want different thicknesses from the same outlines. Darkness keeps every stroke solid, which matters when the file will be traced by software later. Smoothing turns the slight tremor of a photo edge into the kind of confident line a pen would leave.
Transform frames the drawing. Square crop is handy for social posts and sticker sheets, Free crop for everything else. Rotate straightens a tilted photo, and Mirror is useful when you want the figure to face the other way in a composition.
Ink is the tool line art users open most. Five preset colours and a Custom Color picker change every line at once, and the Paper switch between White and Transparent decides whether the export is a finished image or a layer. Transparent black lines over a colour fill is the classic illustration workflow.
Touch Up is your pen and eraser. Erase removes the specks and the background edges that would confuse an auto-trace, and Draw closes shapes so a fill tool stays inside them. Brush Size goes small enough for eyelashes and large enough to blank out a whole corner.
Choosing a photo for line art
Line art shows every decision the model makes, so the source photo has to give it clear ones. Sharp focus is the first requirement: a soft edge produces a hesitant line. Even lighting is the second, because a strong shadow across a face reads as a shape and can turn into an outline that does not belong there.
Composition matters more than for a stencil. Leave a little room around the subject so the outer contour is complete, and avoid crops that slice through a hand or the top of the head, because those edges become hard straight lines in the drawing. Plain backgrounds convert to nothing, which is exactly what you want.
Stylised sources, like the anime portrait example, convert with very little clean-up because the artwork already has flat colour and defined edges. Photographs of people, pets and objects need a minute in Touch Up, mostly to remove background traces and close any outline the light broke. The photo to stencil converter page covers source selection in more detail, and how to turn a photo into line art compares this with drawing it by hand.
What to do with the line art
| Use | Line weight | Ink and paper | Notes |
|---|---|---|---|
| Illustration underdrawing | Thin | Blue on Transparent | Ink over it on a new layer, then hide the blue |
| Colouring page | Medium to heavy | Black on White | Close every shape so crayons have edges to stop at |
| Laser or hand engraving | Thin to medium | Black on White | Keep detail sparse; thin lines burn cleaner |
| Embroidery digitising | Medium | Black on Transparent | Import as the backdrop and run stitches along the lines |
| Cricut cut | Heavy | Black on White | Trace in the cutting software; thick lines survive as shapes |
| Wood burning transfer | Medium | Black on White | Print, then transfer with graphite or heat |
For illustration, a transparent PNG of blue lines behaves like a pencil rough: drop it on a layer, lower its opacity, and ink on top. For colouring pages, the goal is closed shapes and no tiny interior detail, so raise Smoothing and Line Weight and erase clutter. For engraving and wood burning, the opposite is true: thin lines and less of them, because every line becomes a burn. Wood burning stencils and pyrography transfer covers the transfer step.
For embroidery, the line art is a guide the digitising software follows rather than a finished stitch file. Keep the outlines simple and continuous, because a stitch path cannot jump gaps. For cutting machines, the line art needs to become closed shapes; Cricut stencils from a photo walks through the trace and the settings, and the spray paint stencil maker page explains bridges if the design will be cut as a stencil rather than a decal.
Getting the line weight right for the output
Line weight only makes sense relative to final size. A line that looks fine on the iPhone screen at full width can vanish when the drawing is printed at postcard size, or look clumsy when it is blown up to a poster. Decide the output size first, then set the slider.
A practical check: export, place the line art at its final size in whatever app will use it, and look at the thinnest line. If it breaks up or looks grey, come back and raise Line Weight. If the lines merge into blobs around the eyes or in the hair, lower it or raise Smoothing to drop the smallest strokes.
The same logic tattoo artists use for outline thickness applies to any line art that will be reproduced, and line weight for tattoo stencils explains it with examples. When you need a hard copy, how to print a stencil at home covers the printer settings that keep thin lines crisp.
Frequently asked questions
How do I export line art with a transparent background?
Open the stencil in the editor, go to Ink, and set Paper to Transparent. Save to your camera roll and the file is a PNG containing only the lines, so it layers cleanly over colour or another image in any drawing app.
Can I change the line colour?
Yes. Ink offers Black, Blue, Red, Violet, White and a Custom Color picker. White lines on Transparent paper sit well over dark backgrounds, and blue is a common choice for an underdrawing you will ink over.
Is the line art a vector file?
No. Stencil AI exports a raster image, a PNG when Paper is set to Transparent, not a vector. For a cutting machine or for scaling far beyond the original size, trace the PNG in your cutting or vector software; clean, high-contrast lines trace with very little clean-up.
What kind of photo gives the best line art?
A sharp, well-lit photo of one subject against a plain background. Portraits with the face filling the frame, product shots and pets against a wall convert into confident outlines that need little correction.
Guides for this
Photo to stencil
How to Convert a Photo to Line Art (Clean, Printable Lines)
Photo to line art explained: what a good source photo looks like, AI vs hand and vector tracing, line weight control, and exporting transparent PNG line art.
· 7 min read
Tattoo stencils
Tattoo Stencil Line Thickness: Getting Line Weight Right
What tattoo stencil line thickness means, why thick lines hide detail and thin lines vanish on skin, and how to adjust line weight before you print.
· 8 min read
Crafts and DIY
How to Make a Cricut Stencil from a Photo (Step by Step)
Turn a photo into a Cricut stencil: clean black-on-white line art, a trace in Design Space, bridges or stencil vinyl for islands, then cut, weed and paint.
· 9 min read