
Pumpkin carving stencil maker
A pumpkin carving stencil maker turns a photo into a printable pattern of cut-out and skin-on areas. Stencil AI on iPhone converts the photo to clean outlines; you then thicken the lines, keep bridges so eyes and teeth stay attached, print it at pumpkin size, transfer it by tracing or poking, and carve.
 Free first stencil · iPhone only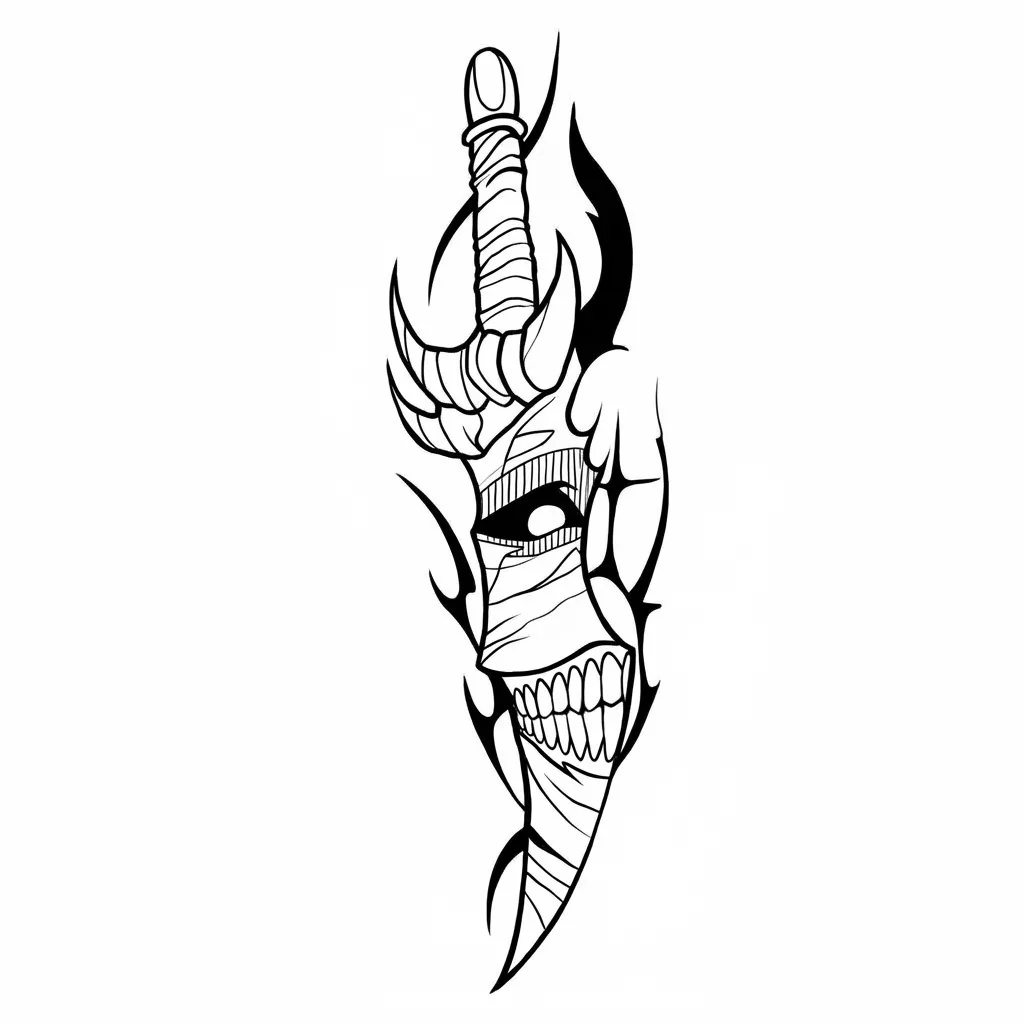
How to make a pumpkin carving stencil with Stencil AI
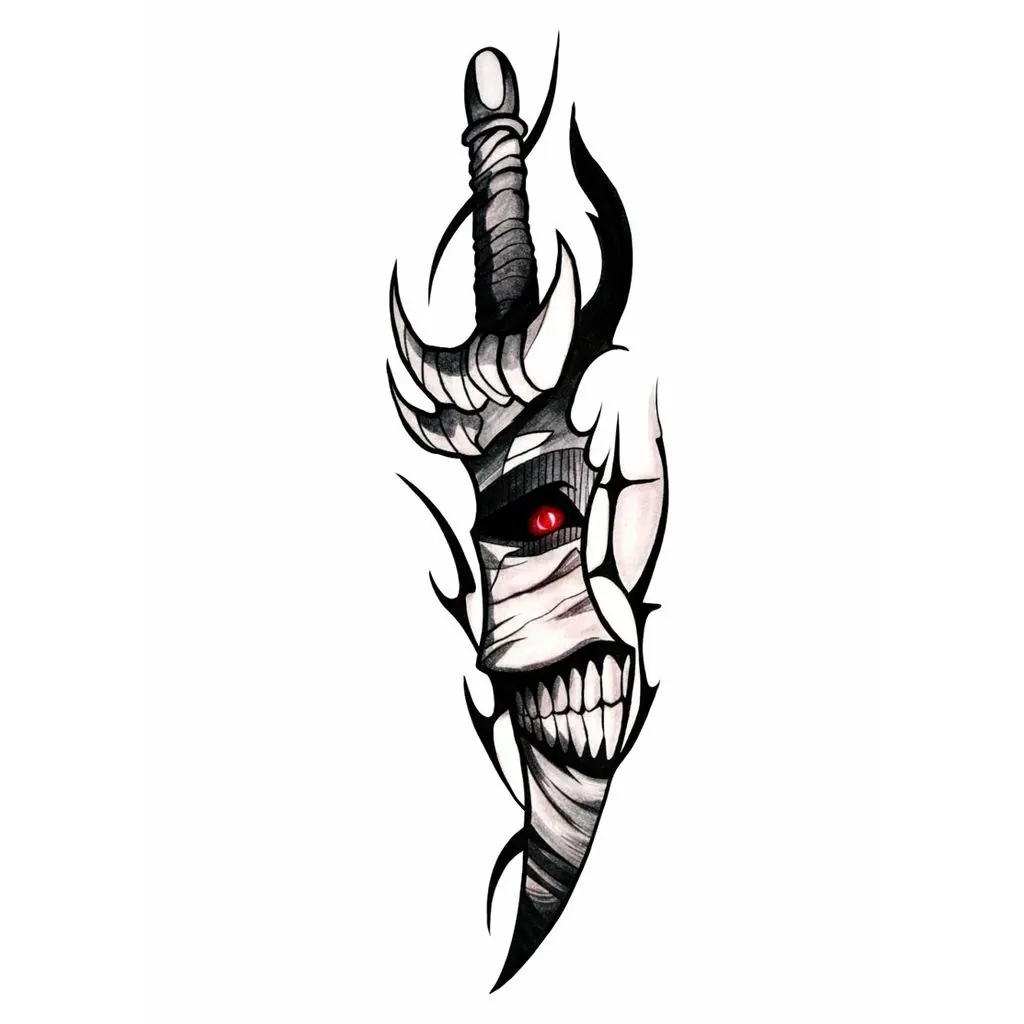
Halloween is a few weeks out, which is the right moment to make the stencil and the wrong moment to cut the pumpkin. The steps below get you a printed pattern this week, sized to a pumpkin you have not bought yet, that you can tape on and carve in an evening when the date is close. The dagger and horned skull example at the top of the page is the kind of design that carves well: big shapes, bold edges, nothing floating.
- Pick the photo. A pet, a family member, a skull, a logo, a favourite character. Choose an image with a strong silhouette and few small parts, because everything you keep has to be cut with a saw the width of a pencil.
- Tap Convert to Stencil. Stencil AI redraws the photo as black outlines on white. Check the before/after slider for the features that make the subject recognisable, usually the eyes and the mouth, and make sure they came through as closed shapes.
- Simplify. In Adjust, raise Smoothing until the fussy interior lines disappear, then raise Line Weight so the remaining outlines are thick enough to become saw cuts. Set Darkness to full so the printout is easy to see through the paper.
- Mark the cut-outs. Open Touch Up, set a large Brush Size, and fill the areas that should glow with solid black: eye sockets, mouth, the gaps between teeth, the negative space around the dagger blade. Everything left white stays as pumpkin skin.
- Keep the bridges. Look for any white area that is now completely surrounded by black, such as a pupil inside a filled eye or the inside of a letter. Erase a strip of black to connect it to the surrounding skin, or that piece will drop into the pumpkin. Two bridges are safer than one on anything bigger than a coin.
- Size it to the pumpkin. Measure the flattest face of the pumpkin, then print the stencil at 100 percent so the design is a little smaller than that face. Bigger openings are easier to cut, but the pattern must not wrap round to the sides.
- Transfer. Tape the print onto the pumpkin, cutting short slits into the paper margin so it lies flat on the curve. Either trace the black shapes with a marker, or poke holes along every edge with a pin and remove the paper.
- Carve in order. Cut the smallest and most central openings first, while the pumpkin is still strong, and the largest ones last. Push each piece out gently from inside rather than pulling from the front.
What the editor does for pumpkin stencils
Adjust does most of the simplifying. A pumpkin cannot hold the detail a photo has, so Smoothing goes higher here than for any other kind of stencil: it removes the small strokes and leaves the shapes. Line Weight then thickens what remains into lines you can actually follow with a saw. Darkness makes the printout read clearly through paper and marker.
Transform deals with the pumpkin, not the photo. Crop the design to the part you will carve, rotate it if the pumpkin sits better on a slant, and use Mirror if you want the subject facing the other way on the porch. Square crop is a handy way to keep a face centred.
Ink stays at Black on White for carving. Transparent paper is only useful if you want to lay the pattern over a photo of the actual pumpkin on screen to preview how it will sit.
Touch Up is where a line drawing becomes a carving pattern. The Draw brush at a large size fills the regions that will be cut out. The Erase brush cuts bridges and thins lines that would leave a fragile sliver of skin. Pinch to zoom for the corners of the mouth and the points of the teeth, and use Undo freely: the pattern is far cheaper to fix on the phone than on the pumpkin.
Choosing the photo and the pumpkin
The photo decides how hard the carving will be. Faces with strong features carve best; faces with fine hair, glasses and small teeth become a night of fiddly cuts. Pets work when the ears and eyes are distinct against the body. Logos, skulls, silhouettes and characters with flat colour convert almost straight into a pattern.
The pumpkin matters just as much. Look for one with a broad, smooth, fairly flat face and a thick, firm wall; tap it and it should sound solid. A tall pumpkin suits a portrait, a wide one suits a scene. Keep it whole and cool until carving day, because once you open it the clock starts.
Print the pattern now and keep it flat. If you are picking the pumpkin later, print two sizes so one will fit. The full walkthrough, with a photo of a pet turned into a finished carving, is in pumpkin carving stencil from a photo.
Cut-out, skin-on and shaded: three ways to carve one stencil
A carving pattern has two kinds of area, and the stencil you print should make them impossible to confuse. Cut-out areas go all the way through and glow brightest. Skin-on areas are untouched pumpkin and read as dark. The rule that holds the whole thing together is that every skin-on area must connect to the rest of the shell, which is what the bridges in step five are for. Bridges and islands in stencil design explains the principle with diagrams.
There is a third option that photos are especially good for. Instead of cutting an area out, scrape the skin off and carve down into the flesh without breaking through. The thinned wall glows a dim orange, which gives you a mid-tone between bright and dark. Use it for the shading on a face or the body of an animal, and keep true cut-outs for the eyes and highlights.
On a stencil, mark the three areas differently before you print: black for cut-out, white for skin-on, and hatching or a lighter fill drawn in Touch Up for shaded. Once the paper is taped to the pumpkin, you will be glad you did not have to remember.
Carving problems and how to avoid them
A feature fell into the pumpkin. It was an island with no bridge. Fish it out, and pin it back in place with a toothpick from inside if it is worth saving. Next time, check every enclosed white area before printing.
The paper will not lie flat. The design was too wide for the face of the pumpkin, or you skipped the relief slits in the margin. Print smaller, and cut short slits into the paper border around the pattern so it can follow the curve.
The lines are hard to see after transfer. Poked holes are easier to follow in low light than marker on a wet surface, and a dusting of flour over the holes makes them stand out. Check how to print a stencil at home for darker printouts, and keep Darkness at full in the editor.
The wall is too thick to cut cleanly. Scrape the inside of the carving face down to a thickness roughly that of your thumb before you start. Thinner walls cut easier and glow better.
It collapsed after two days. That is normal for a carved pumpkin in mild weather. Carve late, keep it out of the sun, and bring it in overnight if frost is forecast. If you want a design that lasts longer than the pumpkin, the same bold pattern makes a good spray paint stencil for a sign or a doormat.
Frequently asked questions
How far ahead of Halloween should I carve?
Carve as close to the night as you can, because a cut pumpkin softens within days. Make and print the stencil now, keep the pumpkin whole and cool, and carve in the last day or two before you want it on the step.
Which parts of the stencil do I cut out?
Cut out the areas that should glow: eyes, mouth, and the gaps between features. Leave the outlines and any strip between two openings as pumpkin, and never let an opening completely surround another piece, or that piece falls in.
Do I need a special poking tool?
No. A push pin, a nail, or a sewing needle pushed into a cork works. Poke holes along every cut line a few millimetres apart, peel the paper off, and join the dots with a fine keyhole saw.
Can I carve a face from a photo?
Yes, but simplify it. Keep the eyes, brows, nose shadow and mouth as openings, keep the outer outline as skin, and erase small interior lines. A bold, poster-like result carves faster and reads from the street.
Guides for this
Crafts and DIY
Pumpkin Carving Stencil from a Photo: Faces, Pets and Logos
Turn a photo of a face, pet or logo into a pumpkin carving stencil: picking a picture that carves, line art, bridges, sizing, transfer and carving order.
· 9 min read
Stencil basics
Bridges and Islands in Stencil Design: How to Fix Them
Islands fall out, bridges hold them in. Learn how stencil bridges and islands work, fix the letters O, A, B, D, P, Q and R, and make line art safe to cut.
· 9 min read
Tools and apps
How to Print a Stencil at Home at the Exact Size
Print a stencil at home from your iPhone: AirPrint, paper for tracing, cutting and tattoo transfer, exact size, line darkness, tiling, laser vs inkjet.
· 8 min read