
Tattoo stencil maker
A tattoo stencil maker turns a reference photo into clean black outlines you can print on thermal or hectograph paper and transfer to skin. Stencil AI does this on iPhone: convert the photo, tune line weight and darkness, mirror it with one tap in Transform, then print at the exact size the placement needs.
 Free first stencil · iPhone only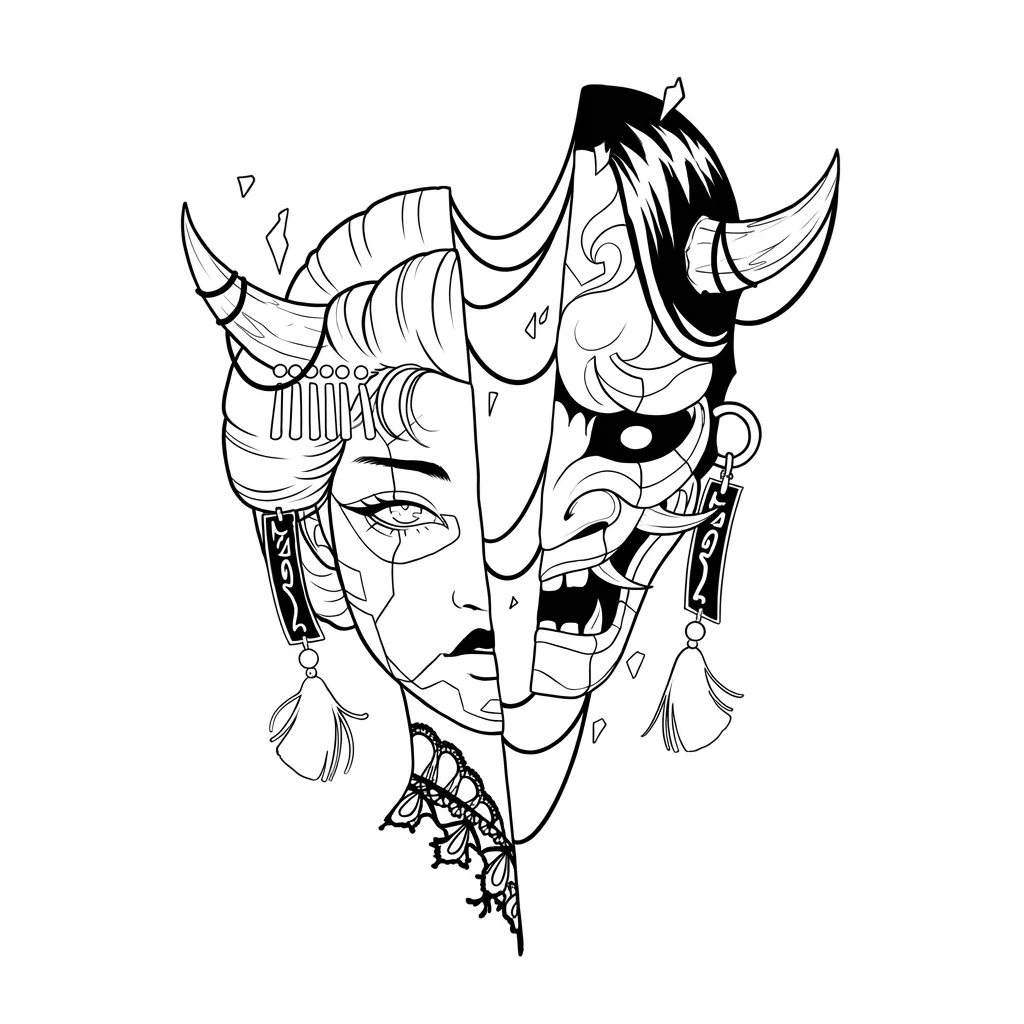
How to make a tattoo stencil with Stencil AI
The workflow below takes a client's reference photo to a stencil on skin without a desktop computer. You convert and clean up on the iPhone, then print through whichever paper route your studio already uses. Budget ten minutes the first time; after that it is closer to three.
- Pick the reference. Open Stencil AI and choose a photo from your library or shoot one with the camera. A single subject, sharp focus and even light give the model the most to work with. If the client sent a screenshot with interface bars or a watermark, crop those away before you convert so they do not become lines.
- Tap Convert to Stencil. The app walks through five phases, from analysing the photo to refining the lines, and lands on a before/after slider. Drag the handle across the face, the hands or wherever the detail matters most and check that the outlines follow the forms you would have drawn yourself.
- Set the line weight for the tattoo. In Adjust, move Line Weight to match how you will actually tattoo it. Fine-line work wants thin, consistent outlines; bold traditional wants heavier lines that survive the transfer. Raise Darkness if any outline looks grey, because grey lines print weak on a thermal copier.
- Crop and mirror. Go to Transform, crop to the design (Free crop keeps the proportions you need) and decide about Mirror. The side of the paper that touches the skin has to be a reverse image of the finished tattoo. If you print or trace straight onto that side, tap Mirror now; if your thermal copier and stencil paper flip it for you, feed it the right way round instead of mirroring twice.
- Size it to the placement. Measure the placement on the client with a tape and note the width the design can occupy. Save the stencil to your camera roll, then print at 100 percent scale with fit-to-page turned off. Hold the paper print against the skin before you commit to stencil paper.
- Print on thermal or hectograph paper. For thermal, print the sized design on plain paper and run it through the copier with the stencil paper, tissue sheet removed. For hectograph, tape the plain print over the paper and trace every line with a ballpoint pen using firm, even pressure. With a portable thermal stencil printer, send the saved image straight from the phone.
- Transfer to skin. Shave and clean the area, apply a thin coat of stencil solution and wait for it to turn tacky. Lay the stencil from one edge, press from the centre outward, hold, and peel from a corner. Give it several minutes to dry before anyone touches it.
What the editor does for tattoo stencils
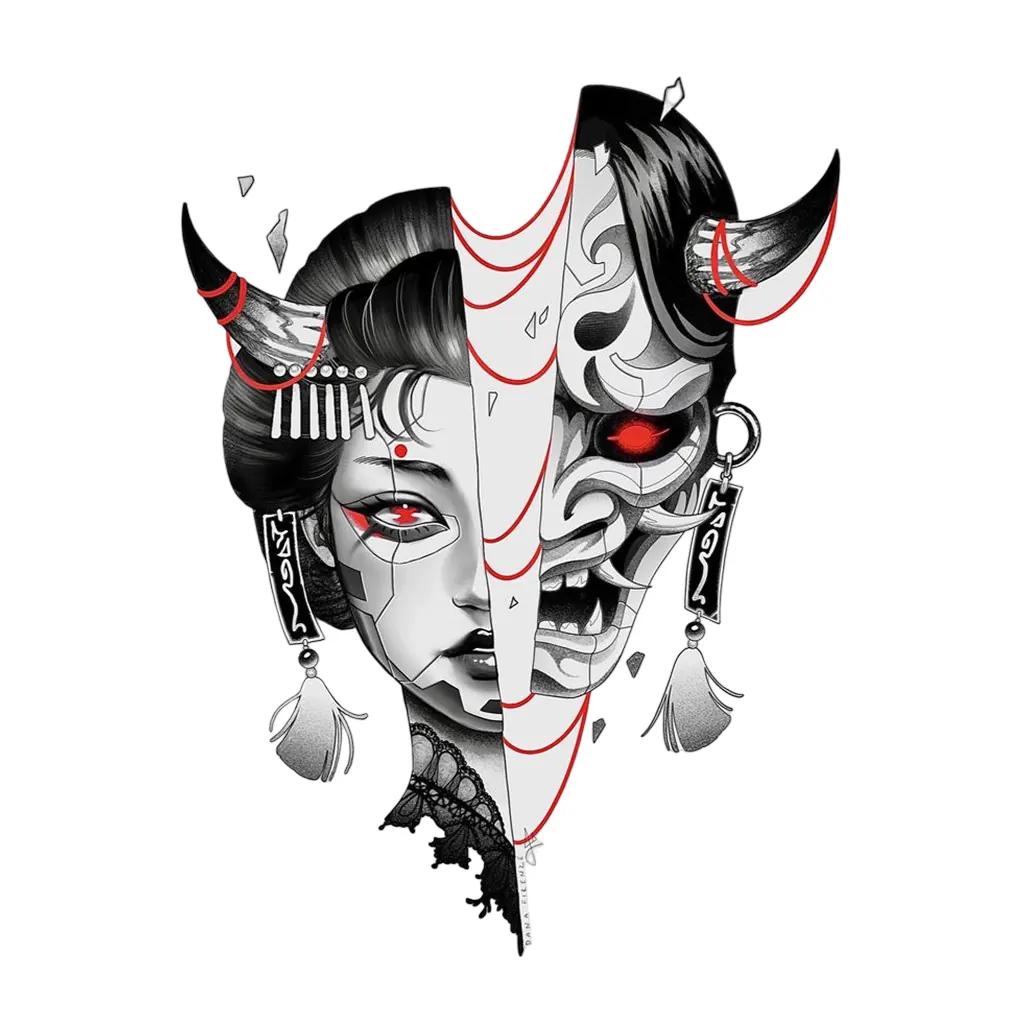
Adjust is where most of the tattoo-specific decisions happen. Line Weight is your needle grouping in visual form: bring it down for single-needle script and portrait detail, push it up for traditional outlines and anything that has to read from across the room. Darkness controls how solid the black is, which matters because thermal copiers reproduce solid black cleanly and turn faint grey into broken dashes. Smoothing evens out jitter in long curves, useful on flowing lines like the hair in the geisha half of the example above.
Transform handles orientation and framing. Crop tightens the stencil to the design so you are not printing wasted paper. Rotate Left and Right fix a photo taken sideways. Mirror reverses the design for transfer, and the app reminds you that tattoo stencils are usually mirrored before transfer; the section below explains when that applies to your route.
Ink sets the line colour and paper. Keep Black on White for anything that goes to a thermal copier, because the copier reads contrast. Blue or Violet lines on Transparent paper are useful when you want to lay the stencil over a photo of the placement in a drawing app to show the client how it sits.
Touch Up is your brush and eraser. Erase stray marks from background texture, close a gap in an outline, or draw in the guide dots and centre lines you want on the skin. Pinch with two fingers to zoom in on the eyes and other spots where a millimetre matters.
Which reference photos make a clean tattoo stencil
The best reference for a stencil looks like the tattoo already: one subject, clear edges, and light that reveals the shape instead of hiding it. A portrait shot in soft window light with the face filling the frame converts into confident outlines. The same face shot under a ceiling light, with hard shadows under the nose and chin, gives the model less to read, and you will spend longer in Touch Up.
Busy backgrounds cost you time. Foliage, patterned fabric and reflections all become lines that the app has no reason to leave out. Crop to the subject before you convert, or ask the client for a cleaner version of the image.
Very low-resolution images, heavy compression and screenshots of screenshots produce soft, wandering edges. If the reference came through a messaging app, ask for the original file. Motion blur, hands in front of the face and half-closed eyes all need fixing in Touch Up, so it is worth spending a minute on the source rather than fifteen on the result. The photo to stencil converter page goes deeper on picking and preparing a source image.
Thermal, hectograph or freehand: matching the paper to the job
Thermal stencil paper is the fastest route when you have a copier or a portable thermal printer, and it reproduces fine detail well as long as the lines are solid black. Hectograph paper costs very little and needs only a pen, but you are re-tracing every line by hand, so it suits simpler designs and studios that do a handful of stencils a week. Freehand marker work is for adapting a design to a body part on the day rather than reproducing a photo.
The detailed comparison is in tattoo stencil paper: thermal vs hectograph vs freehand. The short version for a photo-based stencil: use thermal for anything with realistic detail, use hectograph when the design is mostly bold outlines, and keep a marker for on-skin adjustments after the stencil is on.
Whichever route you take, print a plain-paper proof first. Paper is cheap and stencil sheets are not, and a proof lets you check size against the placement, catch a reversed word, and confirm the lines are dark enough before the copier sees them. Everything about scaling is covered in the tattoo stencil size guide.
Common tattoo stencil problems and how to fix them
Lines break up on the thermal copy. The outline was too thin or too light. Go back to Adjust, raise Darkness and add a notch of Line Weight, and reprint the proof.
The stencil reads backwards on the skin. You mirrored when the paper already flipped it, or you did not mirror when you needed to. Work out which side of the sheet contacts skin, then read why tattoo stencils are mirrored and set a fixed rule for your equipment.
The design is too wide for the arm. A stencil that measures right on paper can still wrap out of view on a forearm or calf. Measure the visible face of the limb, not the circumference, and scale down before printing.
Too much detail for the size. A full-face portrait scaled to five centimetres becomes a smudge once it heals. Raise Smoothing, erase the smallest interior lines in Touch Up, and keep what defines the subject. The line weight for tattoo stencils post explains how to choose thickness by design size.
The stencil smears when peeled. The solution was still wet or applied too thick. Wait for tack, press once, do not slide the paper, and let it dry fully before the client moves.
Follow the full walkthrough in how to make a tattoo stencil from a photo, and the transfer specifics in how to transfer a tattoo stencil to skin.
Frequently asked questions
Do I need to mirror the stencil before I print it?
It depends on which side of the paper touches the skin. A thermal copier with standard stencil paper flips the design for you, so feed it the right way round. If you print or trace directly onto the side that contacts skin, tap Mirror in Transform first.
Can Stencil AI send a stencil to my thermal printer?
Stencil AI saves the stencil to your camera roll and shares it like any other image. From there, send it to the app or printer you already use, or print it on plain paper and run that through a thermal copier with stencil paper.
What size should I print a tattoo stencil?
Print at 100 percent scale with fit-to-page turned off, then check it against a ruler or the skin. Measure the placement first, and on a curved area like a forearm allow for the wrap so the design does not spread past the visible face of the limb.
Does the app work on iPad or Android?
No. Stencil AI is an iPhone app that requires iOS 26.2 or later. There is no Android version, iPad layout or web version, so plan on converting on your phone and printing from there.
Guides for this
Tattoo stencils
How to Make a Tattoo Stencil from a Photo (Step by Step)
Learn how to make a tattoo stencil from a photo: pick the right image, convert it to line art, clean and mirror the lines, size and print it on stencil paper.
· 9 min read
Tattoo stencils
Why Are Tattoo Stencils Mirrored? (And When Not to Mirror)
Why you mirror a tattoo stencil, which transfer methods flip the image for you, and how to check the carbon side so lettering never ends up backwards on skin.
· 8 min read
Tattoo stencils
Tattoo Stencil Paper: Thermal vs Hectograph vs Freehand
Tattoo stencil paper explained: how thermal and hectograph sheets work, what each costs in money and time, and when a freehand skin marker beats paper.
· 8 min read