
Spray paint stencil maker
A spray paint stencil maker converts a photo into bold black shapes you can print, cut out and spray through. Stencil AI on iPhone draws the outlines; you then thicken and simplify them, add bridges so islands stay attached, print on cardstock or mylar, cut with a craft knife, and paint in light passes.
 Free first stencil · iPhone only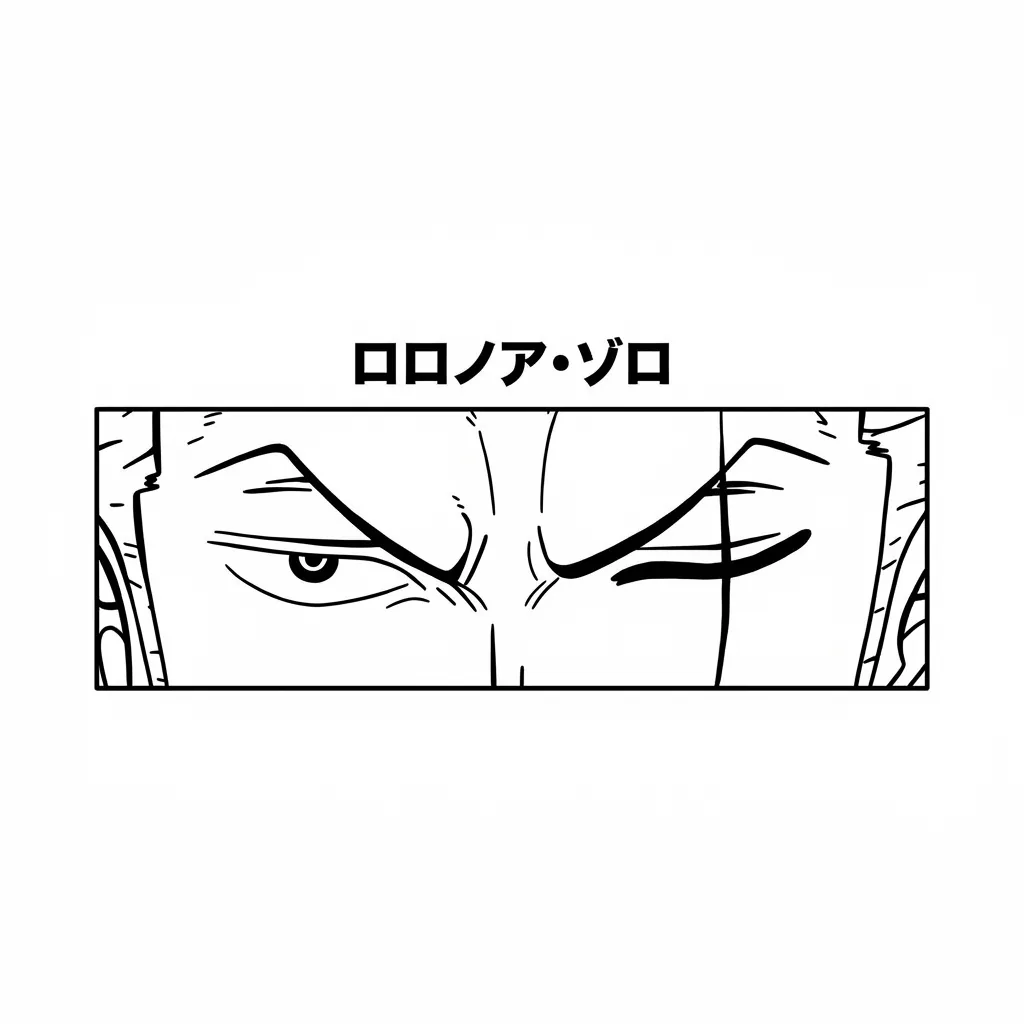
How to make a spray paint stencil with Stencil AI
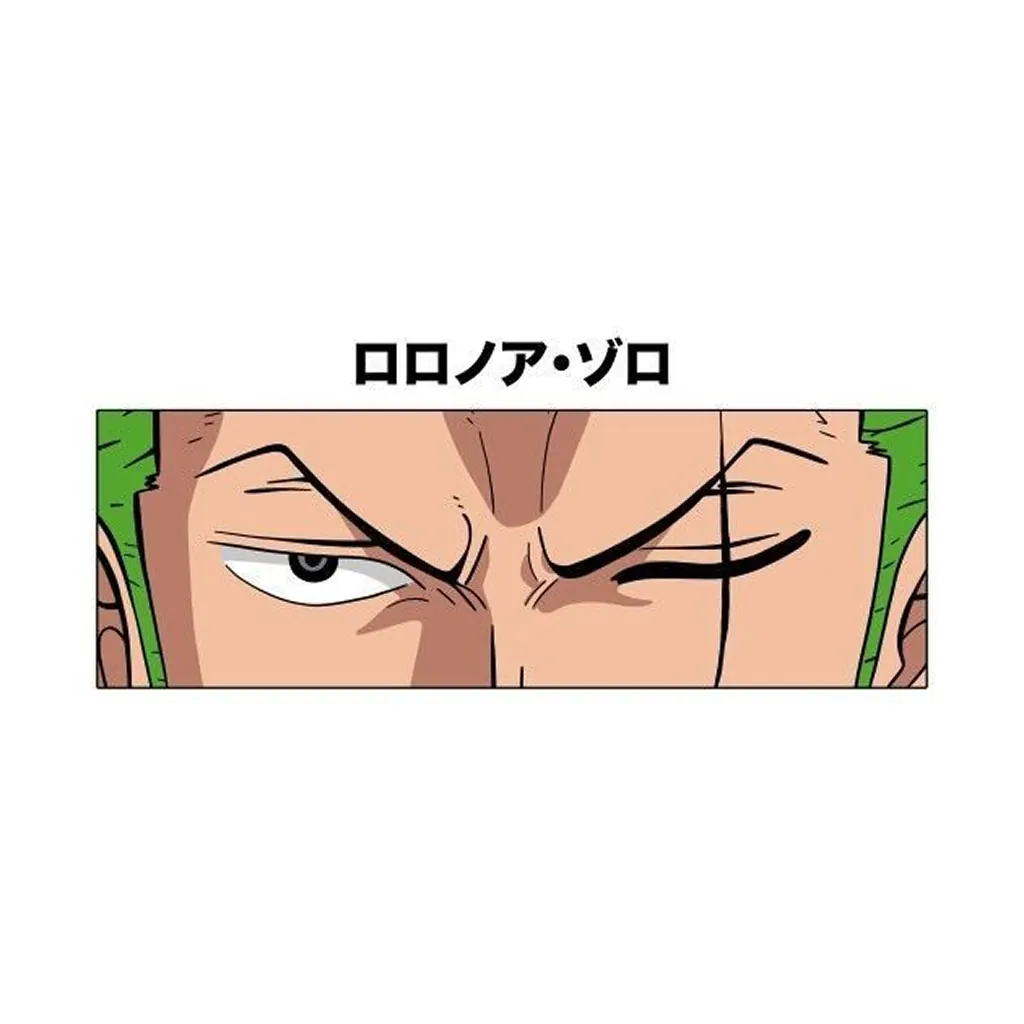
A spray stencil is the opposite of a tattoo stencil: the lines are not there to be traced but to be cut away, so every one of them has to be wide enough to hold a knife and strong enough to survive paint. The manga eyes example at the top of the page is a good test case, because the lashes, iris rings and highlights are exactly the kind of detail that has to be simplified and bridged before it can be cut.
- Choose a photo with a strong silhouette. Faces in profile, animals, logos, hands and objects with a clear outline convert into shapes you can cut. Photos that depend on soft shading or tiny detail will need heavy simplifying, so start with something bold.
- Tap Convert to Stencil. Check the before/after slider for the outer contour first, then the interior shapes. Anything that came through as a thin, wandering line is a candidate for thickening or erasing in the next steps.
- Push line weight and darkness up. In Adjust, raise Line Weight until the thinnest line is at least as wide as your knife blade is long, and set Darkness to full. Raise Smoothing to drop the small strokes that would be impossible to cut cleanly.
- Turn lines into shapes. In Touch Up, use the Draw brush at a large size to fill regions that should be painted solid: the pupils, the shadow under the lashes, a block of hair. Black is where paint will land; white is where the sheet stays.
- Add bridges. Find every white area that black completely surrounds, such as the highlight inside a pupil or the white of the eye inside the iris ring. Erase a strip of black across the ring to connect the island to the rest of the sheet. Make bridges wider than you think you need, because they take the strain when you lift the stencil.
- Print onto cardstock or mylar. Save the stencil and print it at the size you will paint. Cardstock goes straight through most home printers; for mylar, print on paper, tape it over the sheet and cut through both, or trace through with a marker first.
- Cut. Work on a cutting mat with a fresh blade. Cut the smallest interior shapes first, pulling the blade toward you and turning the sheet rather than the knife, then cut the outer contour last so the sheet stays rigid while you work.
- Stick and spray. Mist the back with repositionable adhesive or tape the edges down, shake the can, and spray in light passes from about a forearm's length, holding the can perpendicular. Let each pass flash off before the next. Peel while the paint is dry to the touch but not fully cured.
What the editor does for spray paint stencils
Adjust does the coarse simplification. For cutting, Line Weight goes higher than for any printing job, because a line has to become a slot wide enough to let paint through and rigid enough not to tear. Smoothing at a high setting strips the thin, jittery strokes that would leave hairline cuts, and Darkness at full makes sure the printout reads black on the sheet, which matters when you are cutting by eye.
Transform sets the framing and the direction. Crop away anything that will not be cut, use Square crop for stencils that will be repeated as a tile, and use Mirror if the subject should face the other way on the wall. Rotate is useful when you want to fit a tall design on a landscape sheet.
Ink stays Black on White for a stencil you will print and cut. Switch to Transparent paper only if you are sending the shapes into design or cutting-machine software, where a clean transparent PNG traces into cut paths more reliably than one with a white background.
Touch Up is where the stencil is actually designed. Draw fills lines into shapes and closes any contour that should be a solid area. Erase cuts bridges and removes islands you decide not to keep. Brush Size lets you draw a bridge at exactly the width you intend to cut, and Clear resets to the converted result if a plan goes wrong.
Cardstock, mylar or freezer paper: choosing the sheet
Cardstock is the default for a first stencil. It prints directly, cuts easily, and holds up for a handful of sprays before the edges soften. Choose a heavier weight than printer paper, because thin paper wicks paint under the edge and tears on the second use.
Mylar and acetate are for reuse. They are stiffer to cut, they do not go through most home printers, and the smooth surface can let paint creep if you skip the adhesive; in exchange, a mylar stencil wipes clean and can be used dozens of times. Cut mylar with a fresh blade and a little more pressure, and use the paper printout taped on top as the guide.
Freezer paper is the fabric option. Iron it shiny side down onto a T-shirt or tote, and the wax bonds it flat with no adhesive; peel it off when the paint is dry. It is for one use only. The side-by-side comparison, including cost and how each material behaves with different paints, is in best materials for stencils.
Cutting and spraying without bleed
Most bad stencil results are not the stencil's fault. They come from a wet coat, a sheet that lifted at the edge, or a can held at an angle that drove paint under the material. The fix for all three is the same: keep the sheet flat, keep the coats thin, and keep the can square to the surface.
Cut on a mat with a knife that feels sharp, and change the blade the moment it starts dragging, because a dull blade tears cardstock and leaves fuzzy edges that paint clings to. Cut interior shapes first while the sheet is still rigid, leave the outer edge until last, and keep the offcuts of any solid shapes you might want as a mask later.
Test the spray on scrap before the real surface. Move the can before you press the nozzle and release after you have passed the stencil, so no burst lands in one spot. Two or three light passes give a cleaner edge than one heavy coat, and a slightly under-covered stencil can always take another pass. If you are working on a wall rather than a board, the advice in wall stencils: how to paint without bleeding applies just as well to spray cans.
Peel while the paint is dry to the touch and lift straight up from one corner. For the whole beginner sequence, from first can to finished piece, read the spray paint stencils beginner guide.
Single-layer or multi-layer?
A single-layer stencil is one sheet and one colour. Everything the design says has to be said with cut-outs and bridges, which is why bold, high-contrast subjects work so well and why the bridges are visible in the final piece. Most photo-based stencils should start here; a good single-layer version is often better than a fussy three-colour one.
A multi-layer stencil splits the design into one sheet per colour, sprayed in order from lightest to darkest. Stencil AI gives you the base drawing; you then make a copy in Touch Up for each layer, erase what does not belong to that colour, and add the same registration marks in the corners of every sheet so they line up. Single-layer vs multi-layer stencils explains how to split a design and when it is worth the effort.
Whichever you choose, the bridge logic is identical to any other cut stencil. If you want to see the same rules applied to a subject that has to hold itself together physically, the pumpkin carving stencil page works through cut-outs, islands and bridges on a surface that punishes mistakes. The underlying theory is in bridges and islands in stencil design.
Frequently asked questions
What material should I cut a spray paint stencil from?
Cardstock for a one-off on a flat surface, mylar or acetate for a stencil you will reuse or wipe clean, and freezer paper for fabric because it irons on and peels off. Plain printer paper tears and soaks through on the second coat.
How do I stop paint bleeding under the stencil?
Press the edges flat with repositionable spray adhesive or low-tack tape, hold the can roughly perpendicular to the surface at about a forearm's length, and build the colour in several light passes rather than one wet coat.
Do I need bridges in a spray paint stencil?
Yes, anywhere an opening completely surrounds a piece of material. The white of an eye inside a cut-out iris ring, the inside of a letter O, or a highlight in a pupil all need a bridge or they fall out when you cut.
Can I make a multi-layer stencil from one photo?
Yes. Convert once, then save separate versions where you erase everything except the shapes for each colour. Cut one sheet per layer and add matching corner marks in Touch Up so the layers register on the wall.
Guides for this
Crafts and DIY
Spray Paint Stencils: A Beginner's Guide from Cut to Coat
How to make and use a spray paint stencil: cardstock vs mylar, clean cutting, bridges, spray distance and light passes, surfaces, colour layering and reuse.
· 8 min read
Stencil basics
Best Stencil Material: Mylar, Acetate, Vinyl and More Compared
Which stencil material should you use? Mylar, acetate, cardstock, freezer paper, vinyl and contact paper compared on durability, cost, cutting and reuse.
· 8 min read
Stencil basics
Single-Layer vs Multi-Layer Stencils: Which Do You Need?
Single-layer stencils cut one colour in one pass; multi-layer stencils build shading with registered layers. Learn when each wins and how to split a design.
· 9 min read