
Photo to stencil converter
A photo to stencil converter turns a picture into solid black outlines on a white background that you can print, trace or cut. Stencil AI on iPhone redraws the subject as continuous lines instead of thresholding pixels, then lets you adjust line weight, darkness and smoothing and touch up by hand before you export the result.
 Free first stencil · iPhone only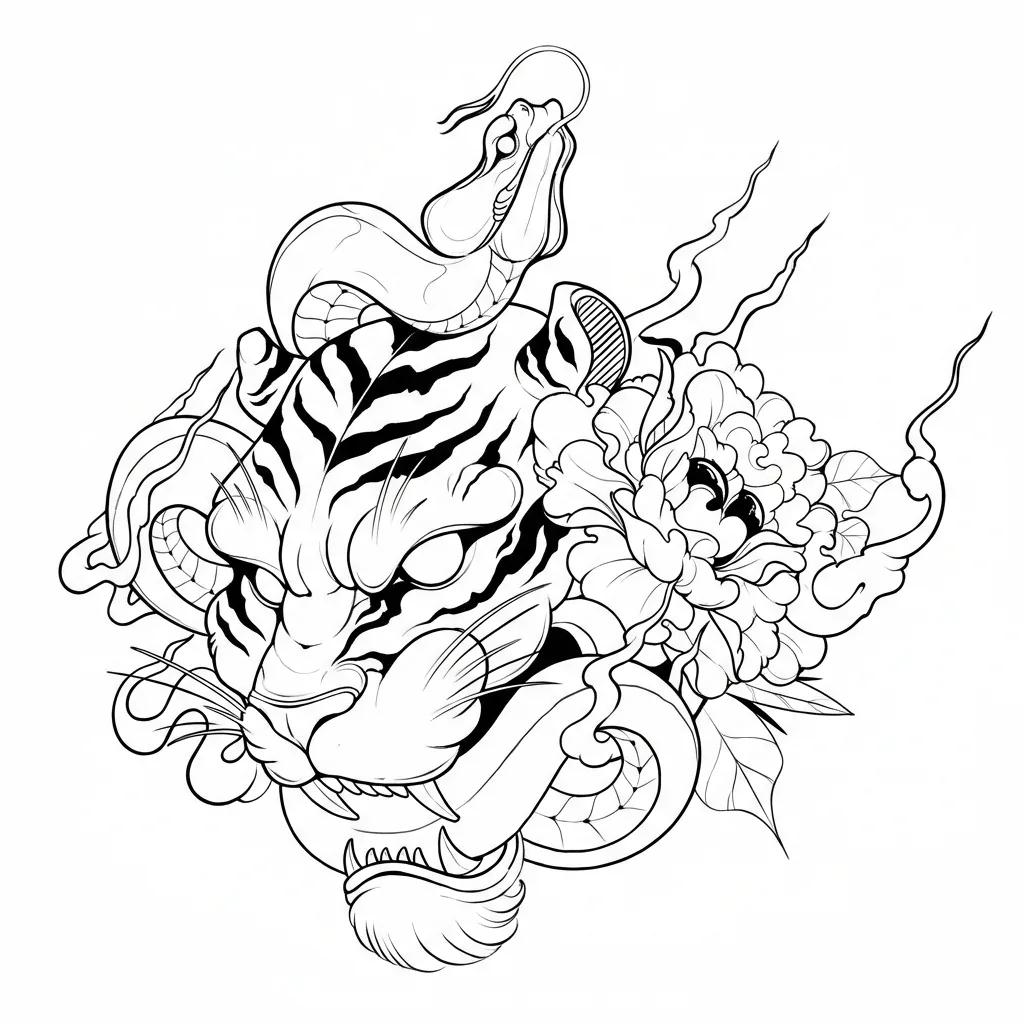
How to make a stencil from a photo with Stencil AI
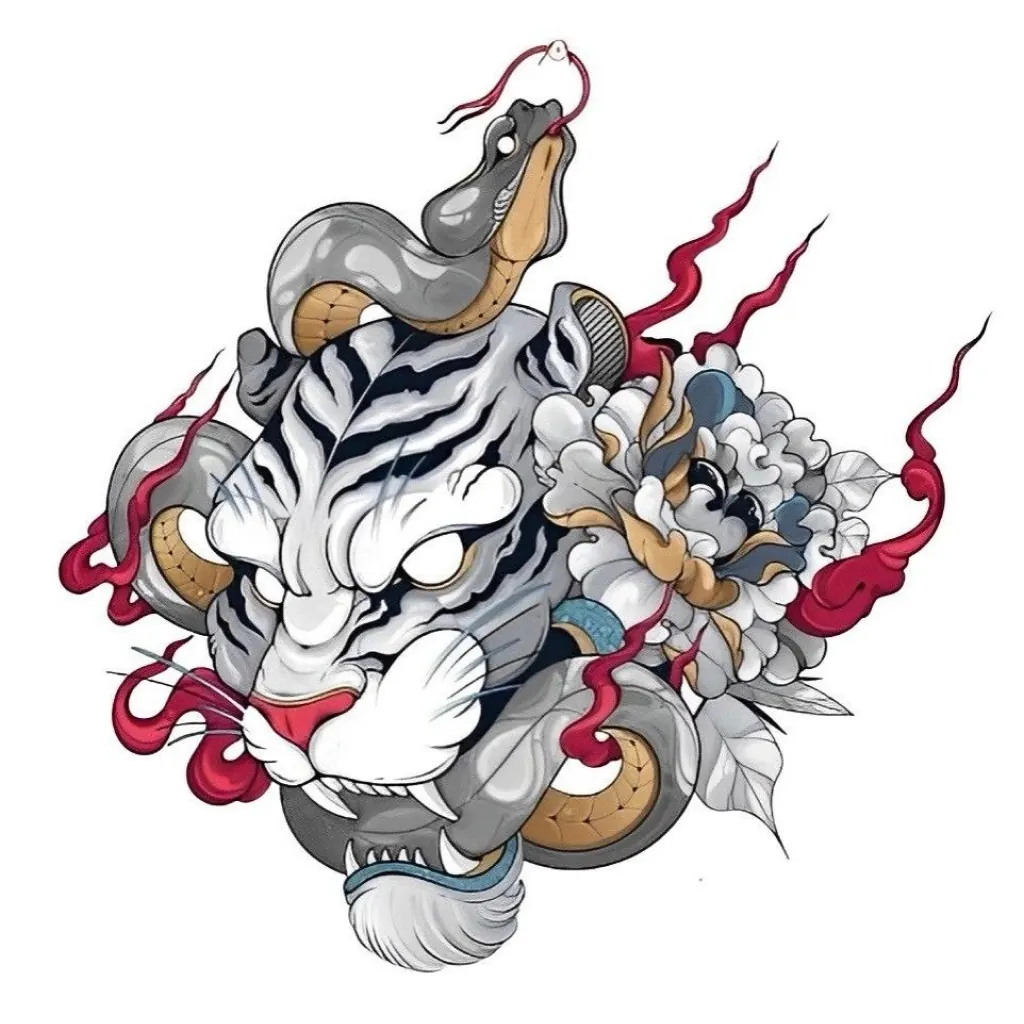
Converting a photo is one tap. The part that separates a usable stencil from a nice preview happens in the minute after, in the editor. Here is the full pass, using the tiger, snake and peony example at the top of this page as the reference.
- Pick a photo. Choose from your library or use the camera. Look for one subject, edges you can actually see, and light that is even rather than dramatic. The tiger works because its stripes are real contrast in the fur, not shadow that happens to be dark.
- Tap Convert to Stencil. Wait through the five phases. The result opens in a before/after slider; drag the handle across the parts you care about and check that the outlines are continuous and that solid areas, like the stripes, stayed solid rather than turning into hatching.
- Set line weight and darkness. Open Adjust. Line Weight decides how the stencil prints and cuts: thin for tracing onto paper, thicker if a blade has to follow it. Darkness pushes every line to full black so nothing comes out of the printer grey.
- Choose how much detail survives. Smoothing evens out wobble and drops the smallest marks. Push it up for a stencil you will cut by hand, keep it low when you want every whisker for a drawing reference.
- Touch up the lines. Switch to Touch Up. Erase texture the model picked up from the background, close gaps in outlines with the Draw brush, and pinch to zoom for fine areas like the snake scales. Undo is one tap away if a stroke goes wrong.
- Export. Save the image to your camera roll or share it directly to a printer app, a cutting-machine app or a message. The stencil also stays in your Collection, so you can come back and re-edit it later.
What the editor does for photo to stencil conversion
Adjust is the difference between a stencil that fits its job and one that almost does. Line Weight scales every outline together, so a design meant for a small print gets thin lines and a design meant for cutting gets lines wide enough to hold a knife. Darkness forces borderline grey strokes to solid black. Smoothing removes the tiny wobbles and specks that a photo always contributes, and it is the fastest way to simplify a busy conversion without touching a brush.
Transform fixes framing before you print. Crop in Free or Square, rotate a sideways photo, and flip or mirror the result when the stencil will be applied face down. Doing the crop here rather than in your photo library means the Collection keeps the edited version.
Ink decides what colour the lines are and whether there is paper behind them. Most stencil work stays Black on White. Transparent paper gives you a PNG with nothing but the lines, which is what you want for overlaying on another image or importing into design software.
Touch Up is manual control. Draw adds lines the model missed, Erase removes ones you do not want, Brush Size sets how coarse each stroke is, and Clear wipes your edits if you would rather start again from the generated result.
Choosing a photo that converts cleanly
The converter reads shapes, so give it a photo where the shapes are obvious. One subject, filling most of the frame, in front of something plain: a wall, sky, a sheet. Sharp focus matters more than resolution, because a blurred edge has no single place for a line to go.
Contrast within the subject helps, contrast from harsh light hurts. The tiger's stripes, the snake's scales and the peony's petals all convert well because the pattern is part of the object. A face lit from one side with the other half in shadow converts less well, because the model has to guess where the shadow ends and the cheek begins.
Avoid the things that create false lines: patterned backgrounds, chain-link fences, reflections in glasses, text overlays, and the compression blocks in a heavily shared screenshot. If you can only get a busy photo, crop tightly first. The general approach to choosing and preparing a source is covered in how to turn a photo into a stencil, which also compares the desktop and by-hand alternatives.
Why AI conversion beats a threshold filter for photos
A threshold filter has one rule: every pixel darker than a cut-off becomes black, everything else becomes white. On a graphic with flat colours that works. On a photo it produces blotches wherever there is shadow, dropouts wherever the subject is pale, and ragged edges everywhere in between. You end up cleaning for longer than it would have taken to trace.
| What you need | Threshold filter | Stencil AI |
|---|---|---|
| Continuous outlines | Breaks wherever light is soft | Redraws the edge as a single line |
| Shading | Kept as black blobs | Dropped |
| Solid areas like stripes | Speckled or filled by accident | Kept solid where the design needs them |
| Closed shapes | Often open, hard to cut | Closed, ready to cut or trace |
| Editing | External app | Built-in Adjust and Touch Up |
The full comparison with examples is in AI photo to stencil vs threshold filter. If you are new to the term, what is a stencil explains what the finished object has to do, which is the real test of any converter.
Fixing the most common conversion problems
The outline has gaps. Raise Darkness and Line Weight a notch each, then close anything left with the Draw brush. Gaps usually come from a soft edge in the photo, so the fix is in the source next time.
There is far too much detail. Increase Smoothing first. If the stencil is still busy, use Erase with a large Brush Size to clear whole regions rather than picking at single lines.
The background came through. Crop in Transform and erase what remains. For future conversions, shoot the subject against a plain surface.
A key feature is missing. The model sometimes drops a faint feature such as a light-coloured whisker or a thin stem. Draw it back in at a small Brush Size, zoomed in.
The lines print grey or thin. Check Darkness, then check the printer: a draft mode or a low-toner cartridge is usually the cause. How to print a stencil at home walks through printer settings, and for a stencil going onto skin the tattoo stencil maker page covers mirroring and paper.
Frequently asked questions
Is the first photo to stencil conversion free?
Yes. Stencil AI is free to download and your first stencil is free. Further conversions are available as in-app purchases, with current options shown inside the app.
How is this different from a threshold filter in a photo editor?
A threshold filter keeps every dark pixel and discards the rest, so shadows become blotches and soft edges become noise. Stencil AI redraws the subject as continuous outlines, drops the shading, and keeps solid black only where the design needs it, such as stripes or hair.
What happens to my photo when I convert it?
The photo is uploaded through an authenticated cloud function only to generate the stencil. The finished stencil is stored on your device in the app's Collection, and no account is required to use the app.
Can I use the stencil with a printer or a cutting machine?
Yes. Save it to your camera roll, print it at home for tracing, or import it into your cutting-machine software. If you need lines with no white background, switch Paper to Transparent in the Ink tool before saving.
Guides for this
Photo to stencil
How to Turn a Photo Into a Stencil: 4 Methods Compared
Four ways to turn a photo into a stencil compared on time, skill, cost and how they cope with soft photos: AI app, Photoshop threshold, GIMP and hand tracing.
· 9 min read
Photo to stencil
AI Photo to Stencil Converter vs a Threshold Filter
What a threshold filter really does to a photo, why it breaks on soft light and hair, what an AI photo to stencil converter does instead, and when each wins.
· 7 min read
Stencil basics
What Is a Stencil? Definition, Types and How They Work
What is a stencil? A plain definition, how a stencil differs from a template or a transfer, the main types, and what makes one cut and print cleanly.
· 9 min read